
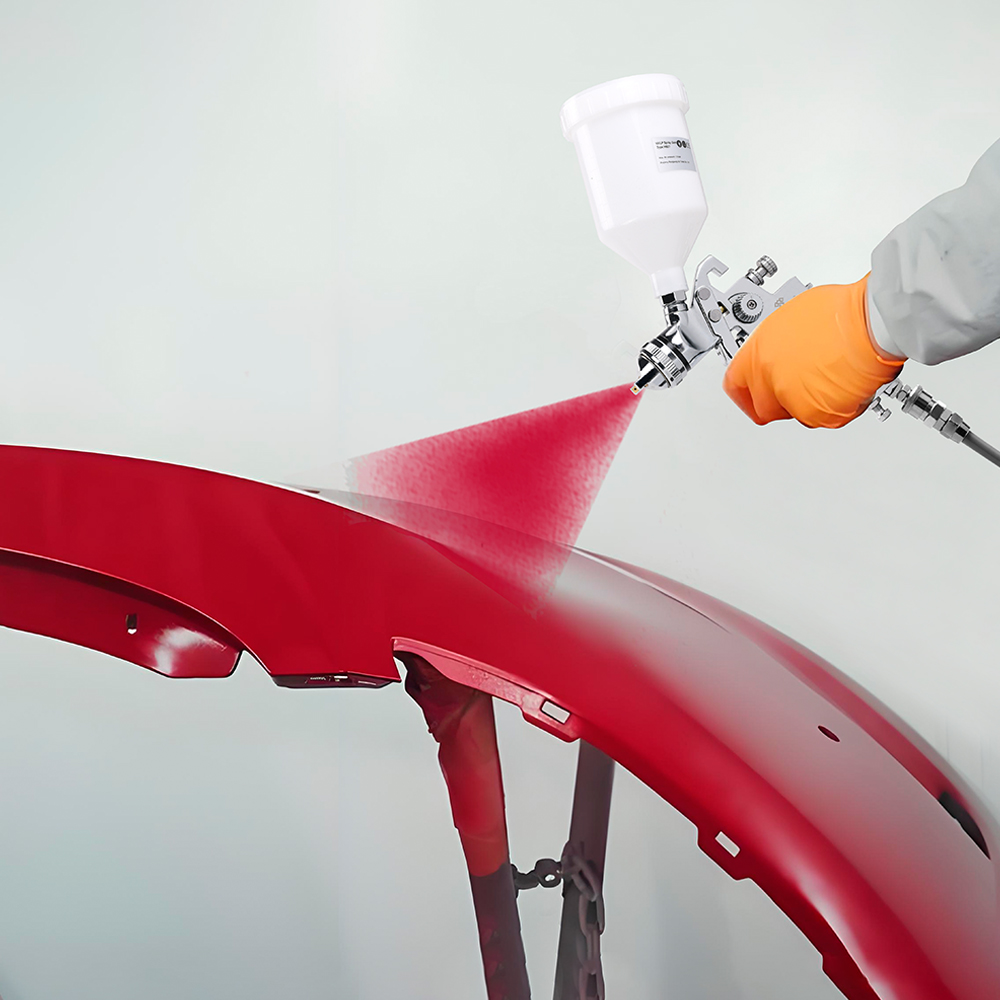


How to Clean the Air Spray Gun After Painting
After using the air spray gun, cleaning is an essential task. Paint remaining in the fluid passages, nozzles and air caps will not only ruin future spray shapes, but also cause premature wear and damage to internal seals and moving parts.
Cleaning starts immediately after the last coat of paint to prevent paint from drying on the inside of the paint spray gun. If the remaining paint in the cup is still reusable, pour it back into the container or into a waste bucket. The first rinse before disassembly is crucial.
For water-based paints, it is usually enough to mix water with a mild detergent or even soapy water, pour the solution into the paint cup, and then pull the trigger to spray into the waste container until the liquid flows out clear. This rinse can remove most of the wet paint trapped in the fluid passages. Rinse again with clean water to ensure that the detergent and residual pigment are completely removed.
For oil-based or solvent-based automotive paints, the cleaning method is different because these paints are water-resistant. Pour a fat-soluble cleaner, such as acetone, into the cup. Pull the trigger until the liquid spraying out is clear. Depending on the viscosity of the paint, a second round of solvent flushing may be required before disassembly.
After flushing, disassemble the nozzle portion of the spray gun. In order, unscrew the air cap first, then turn the paint adjustment, slowly remove the needle, and finally remove the nozzle. Soak these parts in warm soapy water or a special water-based spray gun cleaner, or in acetone if it is an oil-based paint. After soaking for more than ten minutes, use a soft brush from a special spray gun cleaning kit to scrub the paint that has accumulated around the air cap and nozzle. There are also small channels and threads that can be easily overlooked without careful inspection.
A small action that is easily overlooked is to clean the small holes of the air cap after soaking and brushing. Even if there is a thin layer of dried paint in these holes, it will affect the spray shape in the future. The safest way to clean is to use a wooden toothpick or a special soft cleaning needle. Avoid using metal needles or sharp tools because they may widen or deform the holes. Gently insert the toothpick or needle into each vent to make sure there is no blockage. If you feel resistance, repeat the soaking and cleaning before increasing the pressure.
Wiping the outside of the gun is also part of a thorough cleaning procedure. Overspray and solvent residue tend to accumulate around the air inlet, adjustment knobs, and trigger mechanism. Usually, wiping with a lint-free cloth dampened with detergent will prevent buildup, but be careful not to get cloth fibers into open passages or air cap holes during this step.
After cleaning and air-drying the parts, always lightly lubricate the moving parts, especially if cleaning with solvents. Solvents tend to strip any factory or maintenance lubricants, and dry metal-to-metal contact in parts such as the needle, trigger pivot, and fluid adjustment screw can cause premature wear. A thin layer of silicone-free gun lubricant helps keep the mechanical action smooth and prevents corrosion.
Proper storage after cleaning will help extend the life of the gun. After reassembling the gun, it should be stored in a clean, dry place—preferably a sealed container or shelf to prevent dust from accumulating on the air passages or nozzles. If the pneumatic spray gun will not be used for an extended period, apply a thin film of protective oil to the exterior surface and install the nozzle and air cap loosely (do not over-tighten) to prevent thread seizure or corrosion.

 video
video https://rongpeng.store