


Nailers come in two varieties – coil and stick – that can be used in different applications.
Coil nailers are overwhelmingly used for roofing for several reasons including cheaper nails, full head nails, more nails choice (smooth, ardox, galvanized), longer working time before reloading, and the ability to carry the nails in the gun instead of in a pouch.
So if you need to install shingles, there are some important things you must know since nailer use results in tens of thousands of injuries each year.
If you’ll be using a roofing nailer a lot, you’ll find that drivers are among the most expensive replacement parts on a roofing nailer because they wear down nail heads don’t set flat. The good news is that you can grind a driver two or three times before it becomes too short and needs replacement.
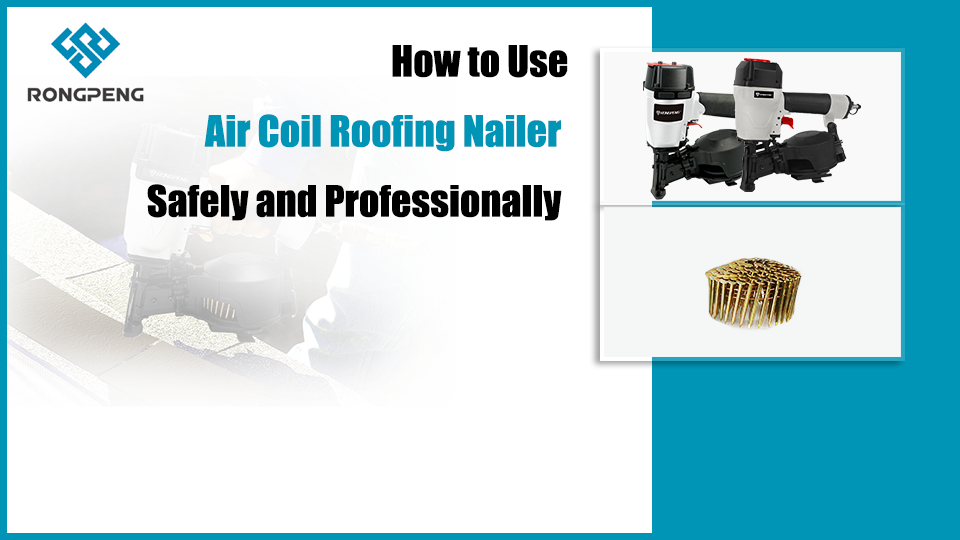
So RONGPENG has developed a coil roofing nailer whose drivers can strike more than 1,000,000 times without changing.There comes our coil roofing nailer CN45RC

Here’s how to use a roofing nailer like a pro:
1. Safety first – We say it all the time but it bears repeating: protect your eyes. You’ll be shooting nails, after all. And obviously there’s an inherent danger in using a roofing nailer in that you are on a roof.
2. Ensure you have the right compressor – Roofing nailers can fire up to ten nails per second in some cases and that takes a lot of air. You typical pancake compressor won’t be able to keep up. Make sure you have a compressor that at least matches the manufacturer’s air consumption specs.
3. Load the canister – To load a roofing nailer’s canister, open the feeder door and the magazine door. Remove the retainer from the coil and insert the coil into the canister with the nails pointed down. The first nail should be positioned in the barrel. Then close both doors.
4. Set the nail depth – To ensure a good result, be sure the nail depth is appropriate for the nail’s length and give it a test shot before you try to rapidly fire them into your shingles.
5. Adjust the exhaust deflector – The burst of air that the nailer will use to drive the nail will be expelled from the exhaust. If your nailer has an adjustable deflector, turn it to prevent air blasting your face during use.
6. Adjust shingle guide – The shingle guide is like a jig for the shingles to ensure the nails are all the same distance away from the edge of the previous shingle.
7. Set firing mode – Nailers usually have two firing modes – single action and a bump/contact mode. In single action, one nail is driven when the trigger is pulled and the nose of the nailer is depressed. In bump/contact mode, as long as the trigger is held, the nailer will drive a nail every time the nose is depressed. This firing mode is dangerous because unintentional firing is common and also because the burst of air that drives the nail causes a recoil. This recoil can push the gun up just as another nail is fired, shooting the nail through the air. Bump/contact allows quick work, but you must understand the danger that it means for you and those around you.

 video
video https://rongpeng.store