
Even the most successful painting contractor had to start at the beginning. Becoming proficient at using a spray rig takes practice and time on the job. If you’re just starting out and are training or working with someone with years of experience, you’re already ahead of the game because you’ll be corrected when you make mistakes (learning how to fix them correctly should be a priority). While every painter develops his or her own techniques, there are several that are universal.
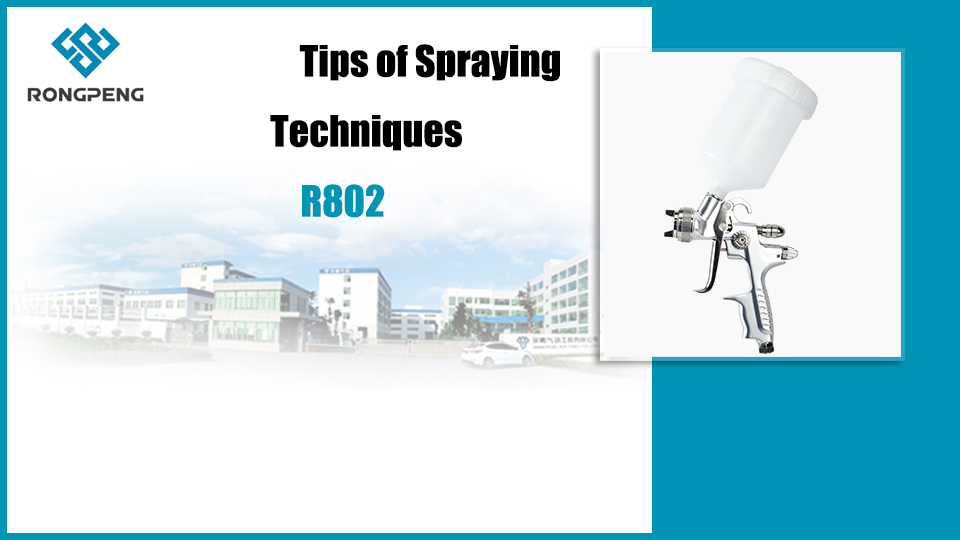
Rongpeng Top Grade HVLP Spray Gun R802
Adjust the Pressure
Paint thickness typically determines the sprayer’s pressure setting. Set the pressure on low and spray it on a piece of scrap paper or cardboard. Fingers will be visible along the edges and you’ll see an uneven spray pattern when the pressure is below what it should be. Keep adjusting the spray pressure control until the spray pattern is even and the edge is consistent. If you have the pressure wide open and the spray pattern still isn’t right, try the next larger tip size.
Overlapping
A good rule of thumb is to overlap the spray pattern by about 50% at each pass. And remember, if you start spraying with a stationary gun, you’ll end up with a lump of paint at the beginning of the stroke. A good way to gauge the overlap is by aiming the spray gun at the bottom edge of each previous stroke. As your experience grows, your spray technique will be more effective. Eventually, you’ll be able to reduce the amount of overlap, which will increase your overall efficiency.
Over Spraying
All sprayers will produce some form of overspray, but there are two main ways to help reduce the amount. You can either set the pressure at the lowest setting, while spraying in a solid fan pattern or try a smaller tip size. An overly large tip can often cause significant overspray.
If you don’t plan to paint the ceiling, use tape or a paint shield to protect it from overspray. This trick is often used by exterior painters when protecting electric meters, soffits or whatever else should be protected from overspray. If the shield isn’t precisely positioned, you can always finish up with a brush.
Spray Speed
Properly controlling your spray speed allows you to apply a full coat with each pass without sagging. If sagging does occur, then apply an extra coat or two, while allowing a flash-off period of 10 to 15 minutes between coats. If you’re forced to use excessive speed to avoid flooding the wall surface, then the pressure is too high or the tip is too large. On the other hand, the reverse applies if you’re forced to slow your movement to get a decent coat on the wall.
Back-rolling
Remember not to spray too large of an area – you don’t want the paint to dry before you get to Back-rolling the entire pass. A roller with a thick (3/4 inch) nap is better at reaching into uneven surfaces such as unfinished cellar walls. If you’re just freshening up the wall with the same color, one coat may be enough. But if you’re dealing with an unpainted wall or changing paint colors, a second coat will probably be necessary.
Back-rolling a smooth wall with an 18-inch roller and a ½-inch nap will work well to push in the paint and level it out. Always keep the Back-rolling preloaded with paint and ready to go, especially if you’re painting freshly primed drywall. This is especially important for higher sheen products because they tend to finger when sprayed.
Remember, the paint sprayer is only a paint delivery system. The real keys to successful spray jobs are the prep work, taping windows and developing a good Back-rolling technique.